Hello, Mule: From Empty Canvas to a Live Endpoint
Sign up for Anypoint, install Studio, and build the canonical first Mule app — an HTTP listener that answers on :8081, run it locally, and hit it with curl.
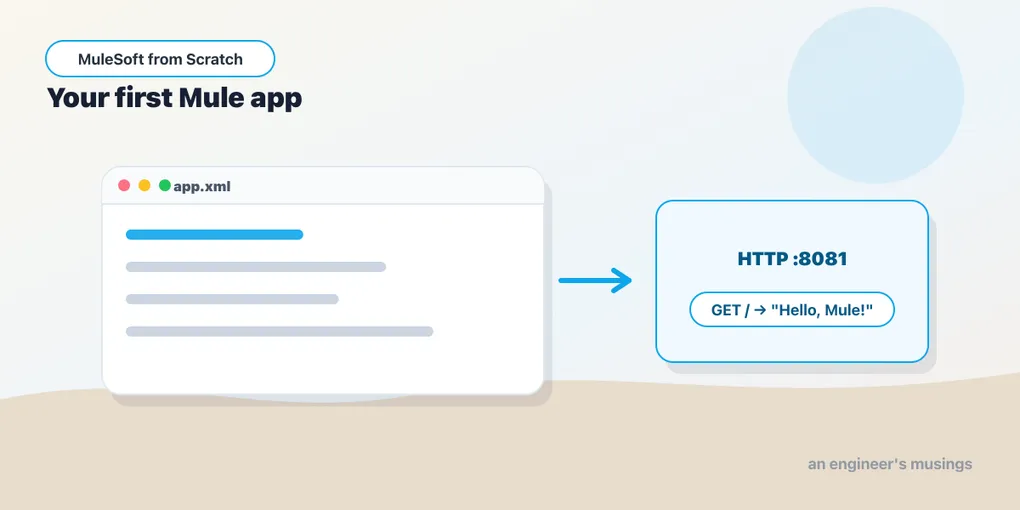
Last post was the map. This post is the terrain. By the end of it you’ll have a Mule application running on your laptop, answering an HTTP request you make yourself. It’s the smallest possible app, and building it teaches you the two ideas the rest of the series leans on: a listener that receives requests, and a flow that processes them.
First comes account setup and a tool to install: a few minutes of clicking before anything works.
An Anypoint account
Everything MuleSoft happens under an Anypoint Platform account, and there’s a free trial that’s plenty for learning. Go to anypoint.mulesoft.com, start the trial, and you’ll land in a web console. Two bits of vocabulary you’ll see immediately are worth naming now.
Your account is an organization (the trial gives you one). Inside it are environments — isolated deployment targets, typically named Sandbox, Design, and later Production. The idea is that the same application gets promoted from a sandbox environment to production without changing its code, only its configuration. You won’t touch environments today — we’re running locally — but that’s what those tabs mean, and post 8 comes back to them when we deploy.
Anypoint Studio
You build Mule apps in Anypoint Studio, a desktop IDE built on Eclipse. Download it from MuleSoft’s site (it’s a large download — it bundles a JDK and a Mule runtime), unzip it, and launch. On first run it’ll ask you to pick a workspace folder; accept the default. Studio bundles a Mule 4.9 runtime, so there’s nothing else to install — the same engine that runs in the cloud runs inside Studio for local testing.
If you’ve used Eclipse or IntelliJ, the layout will read as familiar: a project tree on the left, a big central editor, a properties panel below. The central editor is where Studio differs — it’s a visual canvas you drag components onto, backed by XML you can flip to at any time.
A new Mule project
From the menu, File → New → Mule Project. Give it a name — hello-mule — leave the runtime at the bundled 4.9 and the rest at defaults, and finish. Studio scaffolds a project and opens an empty flow file, something like hello-mule.xml, under src/main/mule. That XML file is your application. Everything you drag onto the canvas edits it.
A quick tour of what got created: src/main/mule holds your flow files (your app logic), src/main/resources holds configuration and property files, and there’s a pom.xml because a Mule app is a Maven project underneath — which matters a lot in post 8 when we package it for deployment. For now, the flow file is all we need.
Building the flow
The app we’re building: an HTTP endpoint at http://localhost:8081/hello that responds with the text Hello, Mule!. Two components do it.
On the right side of Studio is the Mule Palette, a searchable list of components. Search for HTTP and drag the Listener onto the empty canvas. This creates a flow with an HTTP listener as its source — the thing that starts the flow when a request arrives. Then search for Set Payload, and drag it into the flow after the listener. That’s the entire app: receive a request, set the response body.
Studio will flag that the listener needs a configuration. Click the listener, and in its properties panel below, next to Connector configuration, click the green plus to create one. This is where the two-part structure of connectors shows up, and it recurs everywhere.
Config vs. listener — why it’s split
A connector in Mule 4 has two pieces: a connector configuration (shared, reusable connection settings) and the operation that uses it. For HTTP, the listener config holds the host and port — the socket the server binds to. The individual listener holds the path — which URL on that socket this flow answers. One config, many listeners: you bind 0.0.0.0:8081 once, then have a /hello listener, a /health listener, a /users listener, all sharing that one server.
In the config you just created, set the Port to 8081 and leave the host as 0.0.0.0 (all interfaces). Back on the listener itself, set Path to /hello. Then click the Set Payload component and set its Value to Hello, Mule!. The payload is the body of the message flowing through — setting it here sets what the listener sends back.
The XML underneath
Flip to the Configuration XML tab at the bottom of the editor and you’ll see exactly what your dragging produced:
<http:listener-config name="httpListenerConfig">
    <http:listener-connection host="0.0.0.0" port="8081"/>
</http:listener-config>

<flow name="helloFlow">
    <http:listener config-ref="httpListenerConfig" path="/hello"/>
    <set-payload value="Hello, Mule!"/>
</flow>
This is the whole point of Studio worth internalizing early: the canvas and the XML are the same thing. The visual editor is a convenience for authoring, but the XML is the application — it’s what gets versioned in Git, reviewed in pull requests, and diffed when something changes. Reading it fluently is the actual skill. Note how the split we just discussed reads in the markup: http:listener-config owns the connection, the http:listener inside the flow references it by name with config-ref and adds only the path.
Run it
Right-click the project in the tree and choose Run → Run As → Mule Application. Studio compiles the app, starts the bundled runtime, and deploys your app to it. Watch the console at the bottom — after a moment you’ll see a line reporting that the app is deployed and the listener is bound to port 8081. That’s your app, live, on your machine.
Now leave Studio running and open a terminal:
curl http://localhost:8081/helloHello, Mule!That round trip — your curl, into the listener, down the flow to set-payload, and back out as an HTTP response — is a complete Mule application doing its one job. Everything else in this series adds steps to a flow shaped exactly like this one.
When port 8081 is taken
If the console shows an “Address already in use” error, something else is bound to 8081 — another Mule app you left running, or an unrelated service. Stop the other process, or change the port in the listener config to 8082 and adjust your curl to match. Studio’s red Terminate square in the console stops a running app; get in the habit of stopping one before you start another, or you’ll collect zombie apps holding ports.
Final thoughts
It’s a two-component app that returns a string, and it would be easy to feel like you haven’t done much. But you’ve now seen the three things the whole platform is made of: a source that starts a flow, processors that run in order, and the reusable connector configuration behind them. The apps get more capable from here — real data, real downstream calls, real error handling — but none of them change that fundamental shape. You just built the shape.
What we skated past is what actually moved down that flow — what a “message” is, what “payload” really means, and where you’d stash a value for a later step. That’s the model the next post takes apart.
Comments