From Zero to a Running Server: Setting Up Ktor
Bootstrap a real Ktor project with Gradle and IntelliJ — the project generator, the build file, the two ways to start a server, and live reload while you code.
Last time we read a five-line server. Now let’s get one running on your machine. By the end of this post you’ll have a real Gradle project open in IntelliJ, serving Hello on localhost:8080, reloading as you edit.
The fastest path: the Ktor project generator
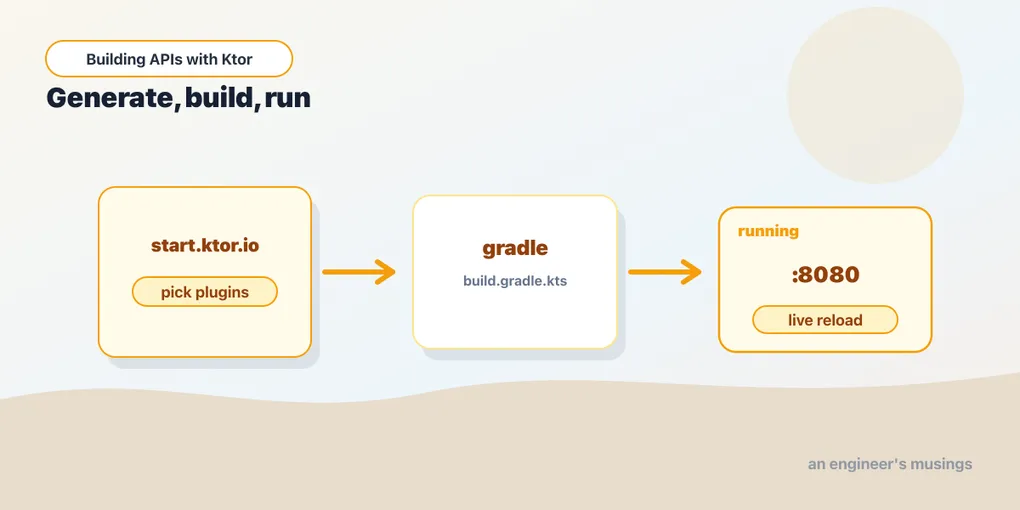
JetBrains runs a project generator at start.ktor.io. It’s the easiest way to start, and it produces a correct, current build, so you’re not hand-copying dependency versions that drift over time.
On the generator you:
- Set the project name, package (e.g.
com.example), and build system (Gradle Kotlin). - Pick the engine — Netty is the right default.
- Add plugins. For now add Content Negotiation and kotlinx.serialization (we’ll use them in two posts). You can always add more later.
- Download the ZIP, unzip it, and Open the folder in IntelliJ.
If you have IntelliJ IDEA Ultimate, the same generator is built in: New Project → Ktor. Community Edition doesn’t have it, so use the website.
When IntelliJ opens the folder it’ll recognize the Gradle project and sync — downloading Ktor, Kotlin, and the engine. First sync takes a minute; after that it’s cached.
What’s in the box
The generated project is small. The pieces that matter:
build.gradle.kts            ← dependencies and plugins
gradle.properties           ← Kotlin and Ktor versions
src/main/kotlin/Application.kt
src/main/resources/application.yaml   ← server config
src/main/resources/logback.xml        ← logging config
build.gradle.kts
The build file is plain Kotlin. The important parts:
plugins {
    kotlin("jvm") version "2.1.0"
    id("io.ktor.plugin") version "3.1.0"
    kotlin("plugin.serialization") version "2.1.0"
}

dependencies {
    implementation("io.ktor:ktor-server-core")
    implementation("io.ktor:ktor-server-netty")
    implementation("io.ktor:ktor-server-content-negotiation")
    implementation("io.ktor:ktor-serialization-kotlinx-json")
    implementation("ch.qos.logback:logback-classic:1.5.13")
    testImplementation("io.ktor:ktor-server-test-host")
    testImplementation(kotlin("test"))
}
Two things to notice. First, the Ktor dependencies have no version numbers — the io.ktor.plugin pins them all to one consistent Ktor version, so you can’t accidentally mix incompatible artifacts. Second, every capability is its own dependency: ktor-server-core is the engine-agnostic core, ktor-server-netty is the Netty binding, and each plugin (content-negotiation, JSON serialization) is added explicitly. This is the “nothing you didn’t ask for” philosophy showing up in your build file.
Application.kt — the EngineMain style
The generator’s main looks a little different from last post’s:
package com.example

import io.ktor.server.application.*
import io.ktor.server.routing.*
import io.ktor.server.response.*

fun main(args: Array<String>) {
    io.ktor.server.netty.EngineMain.main(args)
}

fun Application.module() {
    routing {
        get("/") {
            call.respondText("Hello, Ktor!")
        }
    }
}
This is the EngineMain style, and it’s the one you’ll use for real apps. Instead of hard-coding the port and engine in code, EngineMain reads them from application.yaml. Your app’s setup lives in fun Application.module() — an extension function on Application that installs plugins and routes. We’ll grow this module function for the rest of the series.
application.yaml
This is where the engine config lives:
ktor:
  application:
    modules:
      - com.example.ApplicationKt.module
  deployment:
    port: 8080
modules points at the module function to run (note ApplicationKt — that’s the JVM class name Kotlin generates for top-level functions in Application.kt). deployment.port is the port. Config in a file means you can change the port per environment without recompiling, which is handy when we deploy.
Two ways to start a server
You’ve now seen both. The difference:
embeddedServer(Netty, port = 8080) { ... }— engine and config in Kotlin code. Great for samples, tests, and quick scripts.EngineMain+application.yaml— config in a file, app setup inmodule(). The standard for real apps, and what the generator gives you.
They run the same server. We’ll use EngineMain from here on, and embeddedServer shows up again when we write tests.
Run it
Two ways:
- IntelliJ: click the green gutter arrow next to
fun main. - Terminal:
./gradlew run
Either way you’ll see Ktor log that it’s listening on port 8080. Open http://localhost:8080 and you’ll get Hello, Ktor!.
Live reload while you code
Restarting by hand after every change gets old fast. Ktor supports auto-reload in development. Enable it in application.yaml:
ktor:
  development: true
Then run Gradle in continuous mode so it recompiles on save:
./gradlew -t runNow edit your route’s text, save, and refresh the browser — the change is live in a second or two, no manual restart. That tight loop is how you’ll work through the rest of this series.
Final thoughts
You didn’t write much code here, and that’s the point: the generator hands you a correct, current project so you can spend your attention on the app instead of on build plumbing. The two pieces to keep in your head are fun Application.module() — where your whole app gets configured — and application.yaml, where the server’s environment lives. Everything from here builds on those two.
Next: routing — how Ktor turns a URL and an HTTP method into the right block of your code.
Comments