From Notebook to App: Wrap a Model in a UI Anyone Can Use
Series: Practical PyTorch · I (Phase I) — Part 9 of 9
A model running in a notebook is a private victory. You typed a cell, got a result, felt clever — and nobody else can see it. This last post closes the gap between you ran a model and you built a thing people can use. We’re going to take a pretrained model, wrap it in a plain Python function, and put a little web UI on it with Gradio — running right inside the notebook, with a public link you can text to a friend.
This is the capstone. By the end you’ll have a real, shareable AI app, and you’ll see how every piece of the series snaps together.
Open the companion notebook in ColabA model is already a function
Here’s the reframe that makes the whole thing easy: a model is just a function. Input goes in, output comes out. That’s been the shape of everything in this series: load a pretrained thing, hand it an input, read the result. An app is nothing more than that same function with a UI bolted on. The model does the hard part. Our job is just to give it a way in and a way out.
So we start by writing the function. Let’s use an image classifier — point it at a photo, get back the most likely labels. We’ll lean on pipeline() from Part 6 because it does the preprocessing for us:
from transformers import pipeline

classifier = pipeline("image-classification", model="google/vit-base-patch16-224")

def classify(img):
    results = classifier(img)
    # Turn the list of {label, score} into the {label: score} a UI wants.
    return {r["label"]: r["score"] for r in results}
That’s it. classify takes an image and returns a dictionary of labels and confidence scores. You could call it in a cell and print the result, but a dictionary isn’t something you hand a non-engineer. It needs a face.
Putting a UI on it with Gradio
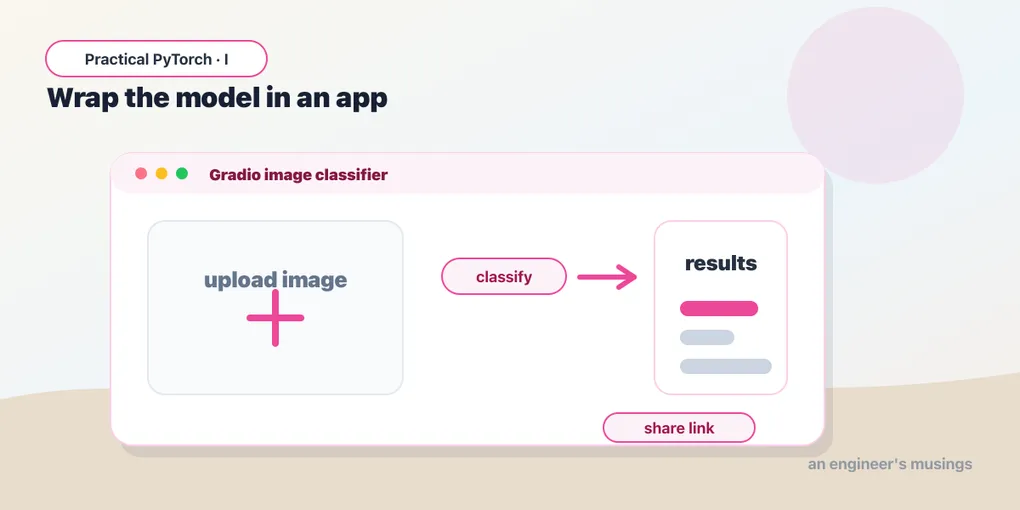
Gradio is a library that builds a web interface around a Python function. You tell it what kind of input your function takes and what kind of output it returns, and it generates the page — file upload, buttons, result display, all of it. No HTML, no JavaScript, no front-end anything.
import gradio as gr

demo = gr.Interface(
    fn=classify,
    inputs=gr.Image(type="pil"),
    outputs=gr.Label(num_top_classes=3),
    title="What's in this picture?",
    description="Upload an image and the model guesses what it sees.",
)

demo.launch(share=True)
Three arguments carry the weight. fn is your function — the model. inputs=gr.Image(type="pil") tells Gradio to render an image uploader and hand your function a PIL image (which is exactly what the pipeline wants — the types line up on purpose). outputs=gr.Label(num_top_classes=3) says “the function returns label scores; draw them as a tidy top-3 bar chart.”
Run that cell and a working app appears inside the notebook: drag in a photo, watch the bars fill in. The model you were poking at in a code cell five minutes ago now has a front door. Everything you learned about inputs and outputs back in Part 5 is quietly doing its job here — the uploader produces a PIL image, the pipeline preprocesses it, the model scores it, and Gradio renders the result. You just don’t have to think about any of it.
The public link
Notice share=True. Without it, the app only exists in your notebook. With it, Gradio spins up a temporary public URL — something like https://a1b2c3.gradio.live — that tunnels back to your running notebook. Send it to someone and they can use your app in their browser, no install, no Colab account.
That link is the punchline of the whole series. You started not knowing what a tensor was; you’re ending with a URL you can paste into a chat and say “here, try this.” The link lives as long as your notebook is running (roughly up to 72 hours), then it’s gone, which makes it perfect for a quick demo and useless for production. But for “let me show you what I built,” it’s exactly the right tool, and there’s nothing else to install or configure to get it.
A taste of another modality: making images
You’ve been running models that read and classify. To hint at how much else is one from_pretrained away, let’s flip to a model that creates — text-to-image generation, via Hugging Face’s diffusers library. Same muscle memory, brand-new superpower:
from diffusers import AutoPipelineForText2Image
import torch

pipe = AutoPipelineForText2Image.from_pretrained(
    "stabilityai/sdxl-turbo",
    torch_dtype=torch.float16,
).to("cuda")

image = pipe("a watercolor fox in a misty forest",
             num_inference_steps=2,
             guidance_scale=0.0).images[0]

image  # in a notebook, this just displays the picture
Read it as the same pattern you already know: from_pretrained loads the model, you hand it an input (a text prompt this time), you read the output (a PIL image). sdxl-turbo is a “turbo” model tuned to produce a picture in just a couple of steps, which is why we set num_inference_steps=2 and guidance_scale=0.0 — those are simply its recommended fast-mode settings. A regular image model would want more steps and a higher guidance value, and would take correspondingly longer. The point isn’t this one model; it’s that text, audio, and image models all answer to the same few lines.
And here’s the lovely part: wrap that in a gr.Interface with inputs="text" and outputs="image", and you’ve built an image generator with a UI. The recipe never changed — only the model did.
Gotchas
A few things that catch people on their first app:
- The share link is temporary, not a deployment.
share=Truegives you a demo URL that dies when your notebook stops (and within ~72 hours regardless). For something permanent, look at Hugging Face Spaces — it hosts Gradio apps for free. The share link is for showing, not shipping. diffusersreally wants a GPU. Image generation is heavy. On a CPU it can take minutes per image, if it finishes at all. Flip on the GPU (Runtime → Change runtime type → GPU) before you run thediffuserscell, and keep the.to("cuda")— on a CPU-only runtime that line will error, which is your sign the GPU isn’t on.- Match the input type to what the model expects.
gr.Image(type="pil")hands your function a PIL image;type="numpy"hands it a NumPy array instead. Theimage-classificationpipeline is happy with PIL, so we used PIL. If your function chokes on its input, this is the first thing to check. - The first run is slow, then it’s fast. The first call downloads model weights (sometimes gigabytes). After that they’re cached for the session, and the app responds quickly. Don’t mistake the one-time download for the app being slow.
float16is a GPU thing.torch_dtype=torch.float16halves memory and speeds things up, but half-precision is a GPU trick (see Part 8). On CPU, drop it and let the model run in the default precision.- Launching twice. Re-running
launch()in the same session can complain that a port is in use. If it grumbles, restart the runtime (Runtime → Restart) and run from the top — the cleanest reset there is.
What’s next — the wrap
That’s the series. Look back at the arc, because you covered real ground:
- Tensors — the one data structure everything in PyTorch speaks.
- Inside a model — it’s just layers, not magic.
- Running a pretrained model end to end, for real.
- Inputs and outputs — preprocessing in, raw scores turned into answers out.
pipeline()— instant results with the boring parts handled.from_pretrained— the same models, with the control turned up.- The Hub and bigger models — choosing models and running large ones without melting your laptop.
- An app — a model wrapped in a UI, with a link you can share.
You set out to take models off the shelf and run them. You can now do that, and then some. You can load a classifier, a summarizer, an image generator; feed it the right input; read its output; and put a face on it that someone else can use. That’s not a toy skill. That’s the exact skill behind a large fraction of the AI features shipping into real products right now, and you got there without deriving a single gradient.
So where to from here? Phase I was about driving — running what already exists. Phase II — Understanding & Fine-Tuning lifts the hood: understanding why a model does what it does, and fine-tuning one on your own data so it learns your specific task. That’s where the calculus we cheerfully ignored starts to earn its keep — and you’ll meet it from a position of strength, because you already know what a model is and what it feels like to run one.
For now, though: open the notebook, build the app, grab the share link, and send it to someone. You earned the demo.
Target keyword(s): build an AI app pytorch, gradio app, run pretrained models pytorch.
Comments