Build-It Project: Draw a House
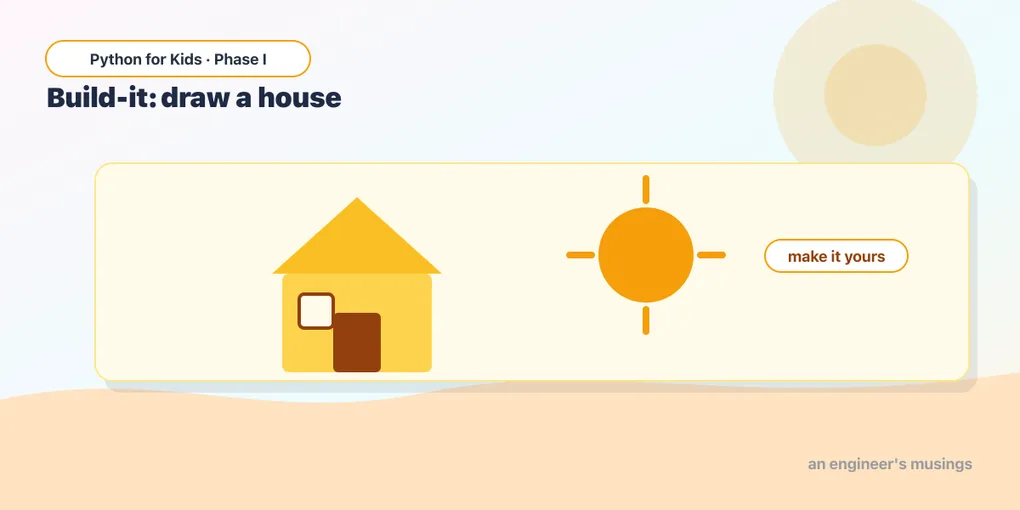
Your first real project! Put moves, turns, and colors together to build a house with a roof — then make it your own with a door, a window, and a sun.
You’ve learned to move, turn, draw shapes, lift the pen, and add color. That’s enough to build something real. Today is a project day: we’ll build a house one piece at a time, and then you’ll make it your own.
A house is two shapes you already know: a square for the walls and a triangle for the roof on top.
Step 1: make room, then draw the walls
The roof goes on top, so first we nudge the turtle down a little to leave room above (using penup and moves you already know). Then we draw a filled square for the walls:
After this runs, the turtle is back at the bottom-left corner of the walls, now facing down. To build the roof, we need it up at the top-left corner, facing right.
Step 2: climb to the roof
We turn the turtle to face up, lift the pen, climb the left wall to the top-left corner, and finally turn it to face right, ready to draw the roof:
The turtle is parked at the top-left corner, facing right. Perfect spot to start the roof.
Step 3: the roof on top
A roof is a triangle. From the top-left corner, we draw a slanted line up to the peak, then another down to the top-right corner. The fill closes the bottom for us:
🎉 A house! Walls and a roof, both filled. It’s just the shapes from this week, placed carefully with penup/pendown in between.
A new shape: the rectangle (for a door)
A door isn’t a square — it’s a rectangle, taller than it is wide. A rectangle has two short sides and two long sides. Draw the door shape on its own first:
See the pattern? Short side, turn, long side, turn — twice around. Change the 40 and 70 to make a fatter or taller door.
The sun: a circle
t.circle(n) draws a circle of size n. Here’s a sun to drop into your sky:
Your mission 🚀
Make the house yours. Start from the finished house (Step 3), and add at least two of these:
- A door — the brown rectangle you just practiced.
- A window — a small filled square.
- A sun — a yellow circle up in a corner.
- Bonus: change the wall and roof colors to your favorites.
Tip for placing things: use t.penup(), move to roughly where you want it, then t.pendown() and draw. It’s okay if it’s not perfect — experiment until it looks like your house. There’s no single right answer.
What you learned this week
- A drawing is built from simple shapes placed in order.
penup/pendownlet you move between the pieces.- A rectangle is short-side, long-side, repeated;
t.circle(n)draws a circle. - Big projects are just small steps, one after another.
That wraps Week 1 — you can draw real pictures now! But you’ve also typed a lot of repeated lines. Next week, one idea — the loop — lets you draw with a fraction of the typing. It’s the moment programming really clicks. 🐢
Comments